
Remember the days when you were still a newbie in the programming world, and happy about every good written and intelligible tutorial you came across? I remember those days well, and I am still learning things by reading/doing tutorials. So, thank you for putting so much work and love into writing tutorials!
I’m sure you’ll agree that tutorials are a great way to help others learn and position yourself as an expert in your field. So, the more effort you put into it, the more you and your readers gain from your work.
But to make your tutorials more valuable for your readers, you should think about a few things while writing or editing. Here you’ll find my first six tips for new and advanced writers who want to write better tutorials.
A general note before we start off:
I’ve curated a really long list of things you can do to write better tutorials. I decided to split this article into 3 parts with 6 tips each. Therefore, the posts won’t be too long, and I won’t overload your brain which you surely need for programming.
1. State the needed skills
Have you ever read a tutorial and realized midway through that it’s beyond your level of experience? The author forgot to mention the skills you need to complete this tutorial, and now you’re frustrated because you’ve wasted time on something you can’t use yet.
Let’s say you’re writing an article about learning Angular and want to explain some of its key-features by comparing it with jQuery. In that case, your reader needs to know jQuery or else he won’t get what you’re trying to explain.
That’s why you should declare which skills your readers need to complete your tutorial successfully right at the beginning.
For the previous example, it could be something like this:
You should have basic knowledge of Javascript and already have worked with jQuery in the past.
So now your readers know whether they’ll be able to follow your explanations right from the start.
2. Interact with your audience and continue to be helpful
As soon as you’re writing something educational, you can be sure that people will ask for your help. This is a great experience, and I hope you feel all warm and fuzzy inside!
Answering all those questions might seem like a lot of work, and indeed, this is something you should like doing. But when you have an active audience, they will help you respond. That’s one reason why communities are so exceptional: It’s not about one person helping all the others but about helping each other. And if it isn’t for being altruistic and collecting karma, it’s for displaying one’s expertise.
So open your comment thread or any other channel where people can interact with you. Start answering questions and encourage your readers to do the same.
Plus, if you’re about to start or maintain a community, this should be an easy decision.
Advanced Tip:
If your site has many readers, you could also implement some sort of kudo- or points system. (Kudos aren’t a thing anymore, are they? What a shame…)
Basically, it’s about users giving points or thumb-ups to helpful answers and their authors. So by integrating gamification (collecting points, getting appreciated and competing against each other), you get your users to engage even more!
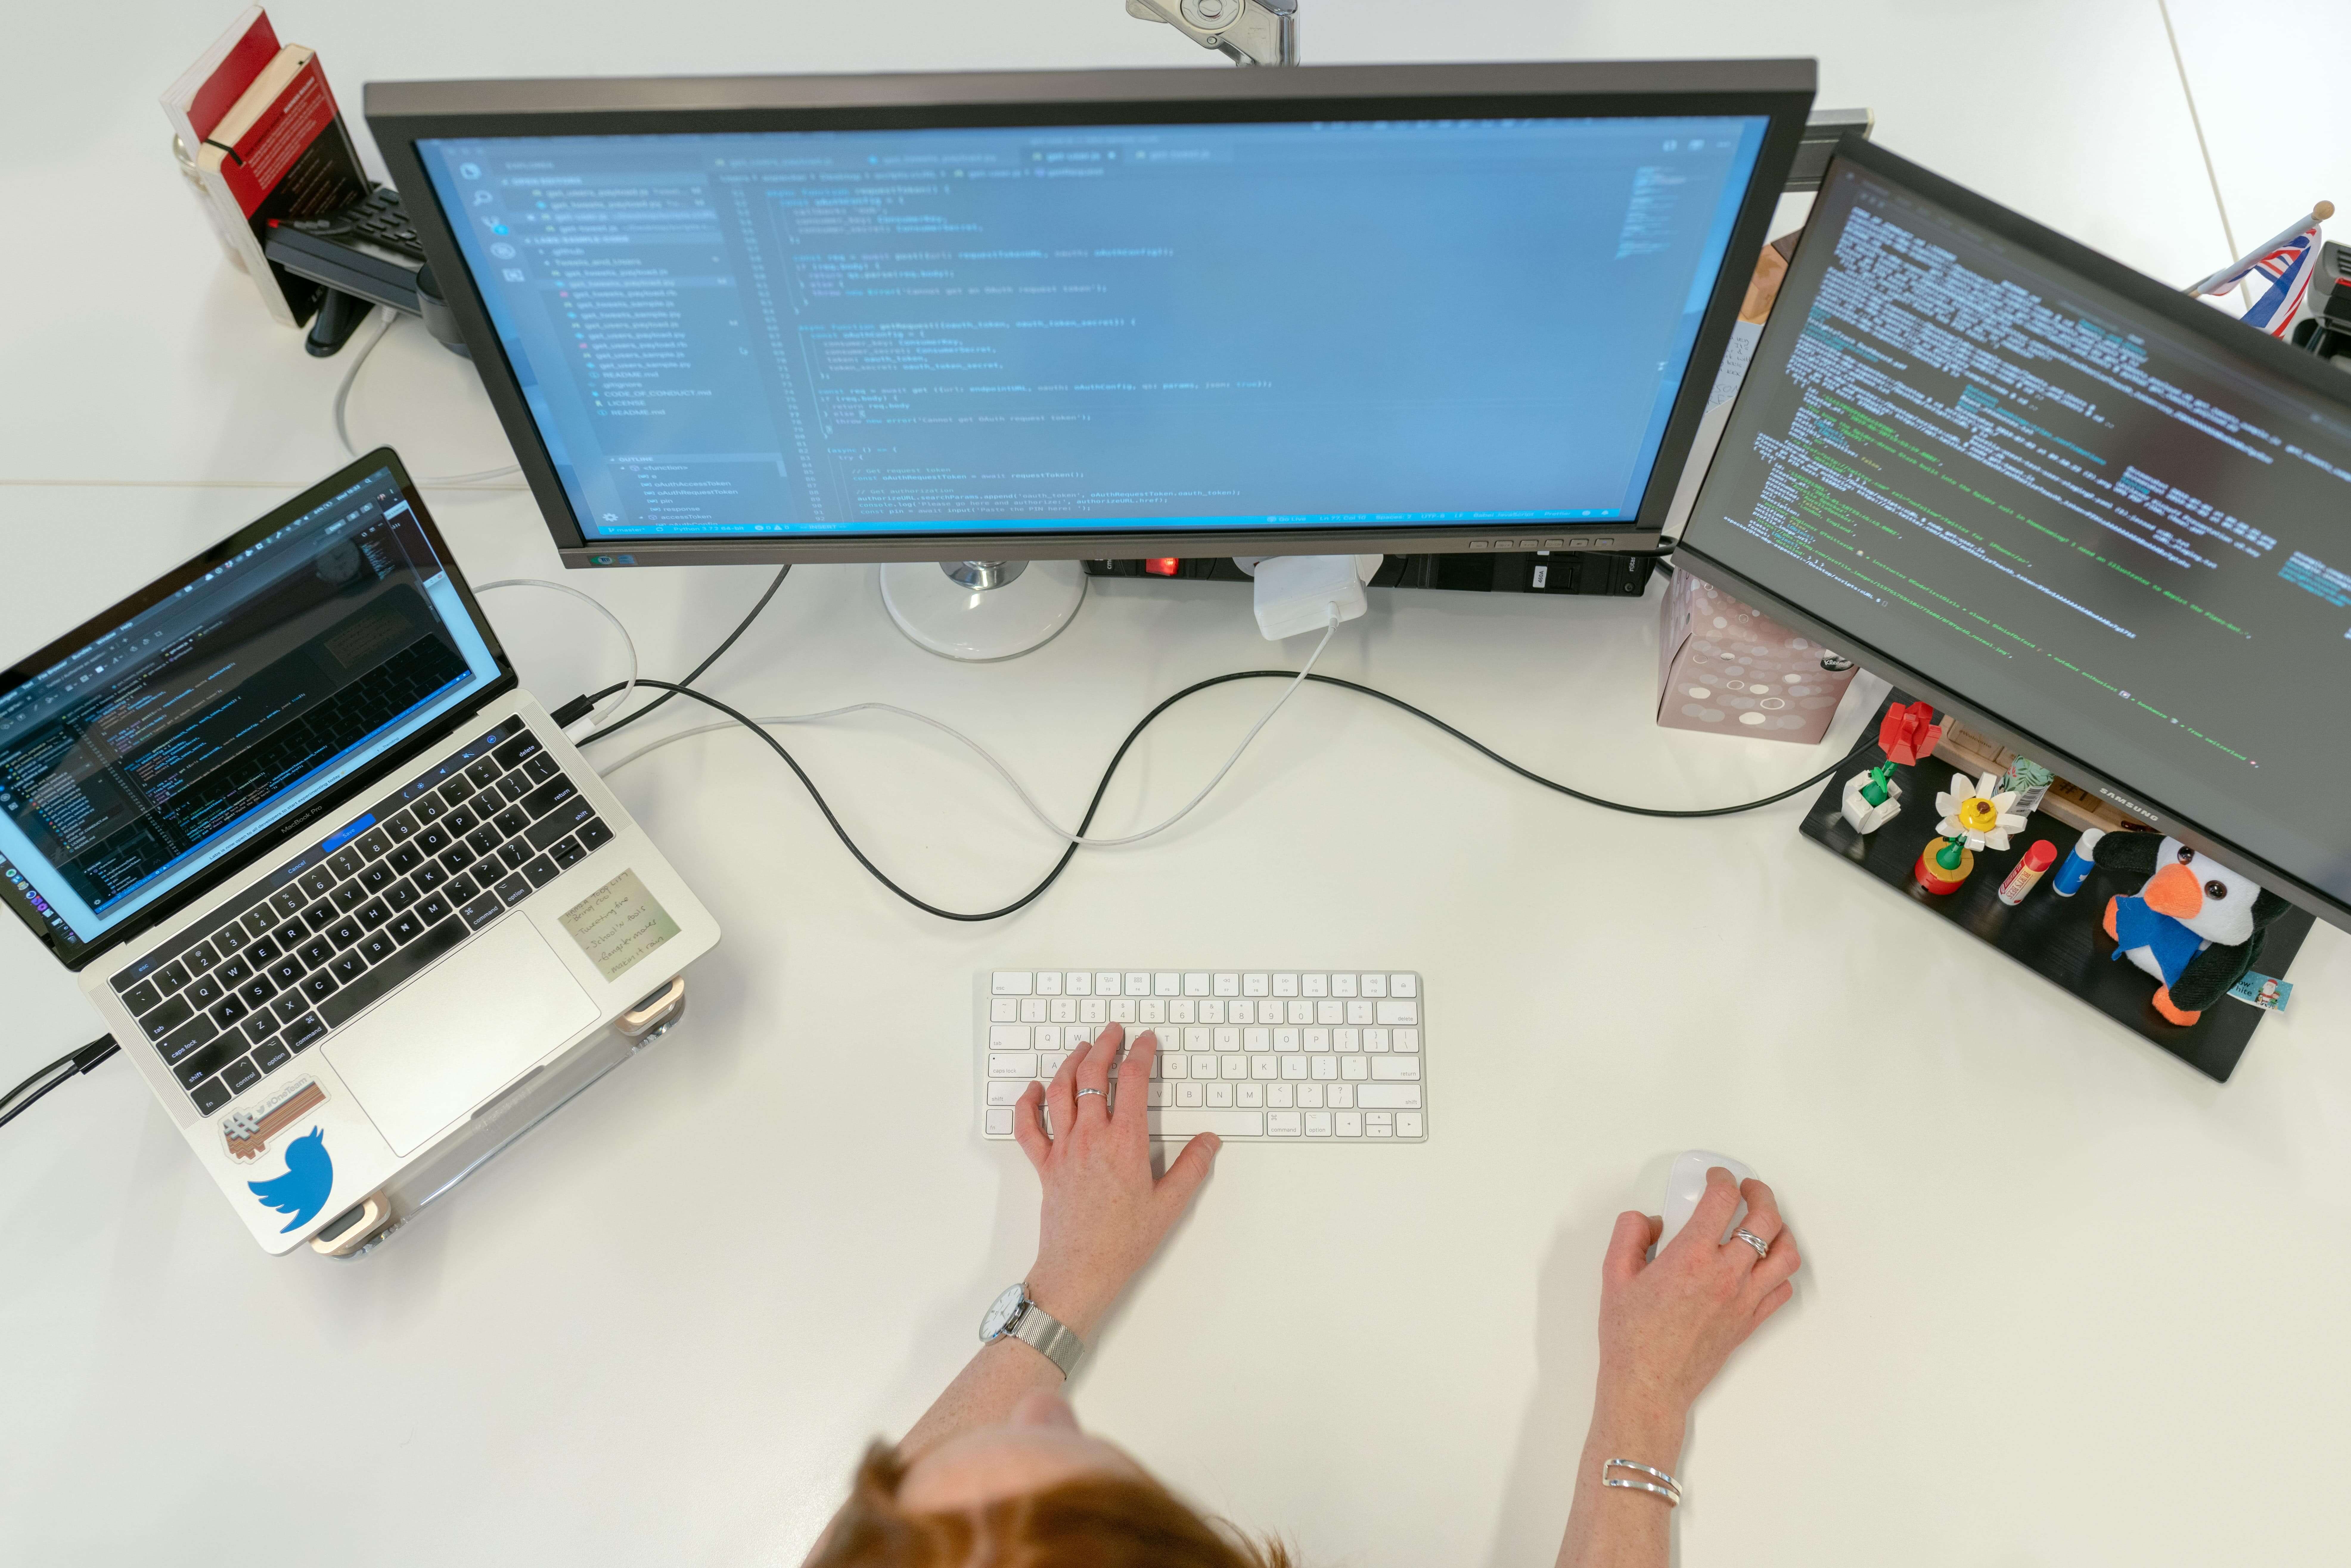
3. Provide screenshots with captions
Often, images are an excellent way to explain something simple which would take ages if tried with actual words.
Let’s say the reader needs to fill out a form to obtain a third party API key. This is the perfect opportunity to take a screenshot! It’s much easier to follow your explanations and see which values belong in which fields by looking at an image.
By providing captions with those images you clarify what’s on the picture and to which step of your article it belongs to—you don’t want to make your readers wonder what they are seeing, do you?
On the other hand, including too many images might be overwhelming, and make your tutorial seem longer (because the scrolling indicator in your web browser gets smaller 😉 ). So just try to find the golden middle and go with what seems right to you.
But remember:
Do not take screenshots of your code!
Code parts should always be selectable for copy-pasting. I am well aware that most of you know that, and I rarely see code displayed in images, but sometimes people tend to forget. Maybe this is the number 1 advice on how to write better tutorials!
4. Split your Tutorial into manageable parts
Like I did it with this article you should also think about whether your tutorial is too long for one page or not. Your reader might prefer if things were split into separate lectures.
Creating more than one part makes it easier for your reader to manage his time more efficientl: he can do the whole tutorial at once or one section at a time and still gain the warm feeling of accomplishment. Also, presenting the user with a long one-pager might make him feel overwhelmed and less likely to even start reading your tutorial.
An excellent way to identify breaking points is by looking at your headings: as soon as one topic is completed, and another one starts you’ll often find a good opportunity to make the break.
But still, this is entirely up to you: Undoubtedly there are cases when splitting your article makes no sense. Again, do what you think is right for your content.
Advanced Tip:
The content length may also influence your SEO ranking. I recommend writing articles with at least 1000 words (this one has about 1500 words). If you’re able to prove your point in 500 words, that’s fine too because you don’t want to bore your readers with filler content just to reach a certain word count.
As always: Think about your audience first, then about SEO.

5. Make your code look real
The best way to present your code is by displaying it like in an editor or IDE. Making your code more readable and therefore more understandable is an important task.
Additionally, it’s pretty to look at—who doesn’t like well-presented code?
You could use a monospaced font, a different background-color and some highlight colors for programming statements.
Also, when using variable names or other short code-snippets directly in your text, make sure that it’s clear, that this is code. At least you should use a monospaced font to make it stand out.
Depending on your environment you have different options: Download and install a plugin for your WYSIWYG Editor or write the styling yourself.
Naturally, having ugly or wrong formatted code in your tutorial may show low quality and is one reason why readers might leave early, so doing your best that everything looks neat and accessible is time well spent.
6. Structure your tutorial with headlines and paragraphs
Paragraphs are a great way to lead the reader through your article. If you don’t structure your content in a meaningful way, your text will look overwhelming and it will take some courage to start reading.
You could even make paragraphs which only consist of one sentence.
That’s totally fine as long as you’re not tearing things apart. If you’re feeling experimental, you could also write a one-word paragraph to emphasize emotion.
Awesome!
Basically, paragraphs lead your readers’ eyes through your article and make it more interesting for the brain to look at (so people won’t doze off).
Which brings me to the next point: Subheadlines!
Now listen, this is super important: you need subheadlines, to structure your content and to announce it’s matter.
People don’t have much time and often scan over an article or tutorial before actually reading it. So when you use subheadlines, the reader should instantly know what topics you’re covering. This makes it easier for your user to decide whether the tutorial is useful to him or not.
Sadly, this also means you should avoid writing cryptic subheadlines – even if they’re funny!
Just look at this article, I’ve used subheadings to inform you about what’s coming. So if you just take a quick look at them, you instantly know what I’m writing about. When you realize that I don’t provide you with new information and exit this page—which is totally fine by the way—you save yourself some precious time.
What’s next
So, these were my first 6 tips on how to write better tutorials for you. Stay tuned for the upcoming parts 2 and 3!
So what’s your number one advice on tutorial writing? And what things do you dislike the most?


2 Responses
Thank you for such wonderful tips Sarah. I really loved the “one-word paragraph” concept. Going to use it in my next tutorial.
Hi Shruti,
Thanks, I’m glad you found useful info in my blog post! 🙂